
We detail how you can create your own servers in Rust for PC and which are the best that you can find to discover different versions.
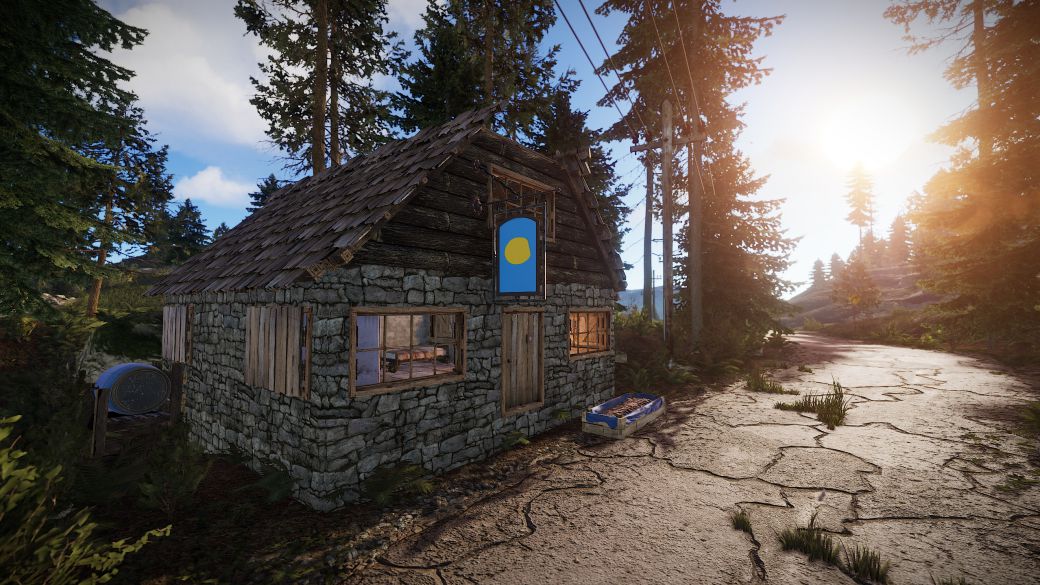
Rust is gradually becoming the game of the moment thanks to the broadcast of Egoland, a series of live programs that various streamers, youtubers and influencers are doing on their respective Twitch channels. Despite the fact that it is a game with several years of history, it is now that it is having a peak in popularity and is attracting new players. For this reason, below we will explain something basic but that it will be useful to know: how to create custom servers and which are the most outstanding ones that we can find to visit and learn to survive in an elaborate but equally hostile environment. Also remind us that for now the game is only available on computer (PC).
How to create servers in Rust
To begin with, we must mention that it is necessary to have a good PC to create and maintain your own Rust server, since a map of 3 square kilometers of base (the average size) will run at about 2GB of RAM, which can finally be transformed into more 6GB of memory. Therefore, we recommend having at least 7GB dedicated solely to the server.
anonymous login
force_install_dir “c: rustserver “
app_update 258550
quit

- If you want to download the Rust branch that receives the latest updates, you must modify the app_update command as follows: app_update 258550 -beta staging
To get a server instance up and running, we must create at least one batch script file. To get started, we create a file called RustServer.bat in our server’s installation directory (c: rustserver), then right-click and edit the file. In general, we will have to modify all our server settings in this batch script. The configuration files for the server are not fully working yet, so explicitly defining all of your settings in the batch script is the best way to go. This is an example, which we must adapt to our own server (if we copy it as it is, it will not work):
1.) echo off
2 :): start
3 🙂 C: steamcmd steamcmd.exe + login anonymous + force_install_dir c: rustserver + app_update 258550 + quit
4 🙂 RustDedicated.exe -batchmode + server.port 28015 + server.level “Procedural Map” + server.seed 1234 + server.worldsize 4000 + server.maxplayers 10 + server.hostname “Name of Server as Shown on the Client Server List “+ server.description” Description shown on server connection window. ” + server.url “http://yourwebsite.com” + server.headerimage “http://yourwebsite.com/serverimage.jpg” + server.identity “server1” + rcon.port 28016 + rcon.password letmein + rcon. web 1
5 🙂 goto start

Finally, we can run the Rust client and instead of selecting a server from the existing ones, we must press F1 and go to the client console. If we use the default port 28015, we write this command to connect to the server: client.connect localhost: 28015. Once the server is up and running, we can choose to assign ourselves ownership. This is done with the ownerid command. We will need our 17-digit SteamID number (we can get it by logging in and running the user command on the console). When we have it, we enter the command as follows: ownerid 12345678901234567 AdminName.
If we want other users to be able to connect to our server, we will have to configure a “port forwarding” using the one we used in the previous list. We recommend using this Steam Server Guide if we are not familiar with these types of settings, as it is quite a complex process for the average user.

What are the best Rust servers
Next, we leave you a Top with some of the best servers that we can find in Rust to discover a new face of the Facepunk Studios title: