
We show you how to solve the so-called Nintendo Switch Joy-Con drit if it is not under warranty.
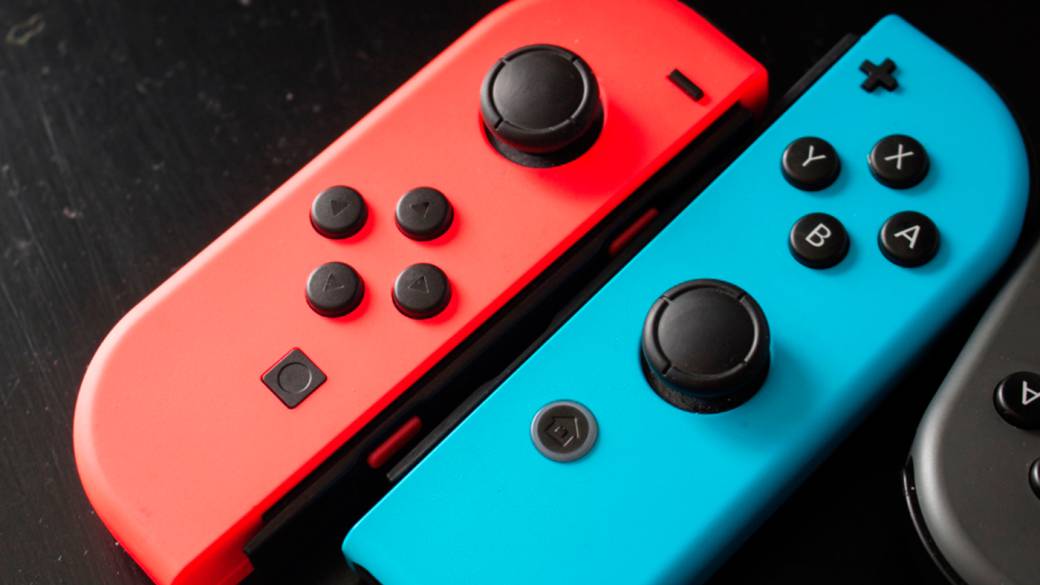
Do you have precision problems with the Joy-Con of your Nintendo Switch? Here is a complete tutorial so you can clean and repair the Joy-Con if they are not under warranty and as a last solution before sending them to Nintendo's technical service. And is that many Switch users have encountered several setbacks in the operation of the Joy-Con, especially with the left, because of the so-called Joy-Con Drift. Of course, if you have problems with the controls of Switch and are still under warranty, the ideal is that Nintendo takes care of such repairs.
How to clean and repair Nintendo Switch Joy-Con
The first step will be to check the calibration of the Joy-Con with the console in order to rule out possible compatibility errors via software; To do this, go to the Console Settings and access Controls and Sensors. Now click on the option Update the Joy-Con and Recalibrate the sticks. If the problem is not solved read on.
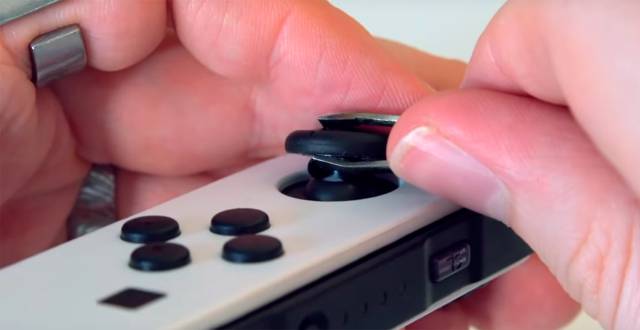
The next step will be to clean the inside of the sticks, areas that can accumulate dust and dirt after a long time of use and that can affect the proper functioning of the sticks. For this it will be necessary to have thin metal tweezers and some type of contact cleaner; The method is very simple, since we only have to throw the stick up with the tweezers until uncovering a plastic surface and apply a little cleaner there. If the problem persists read on.
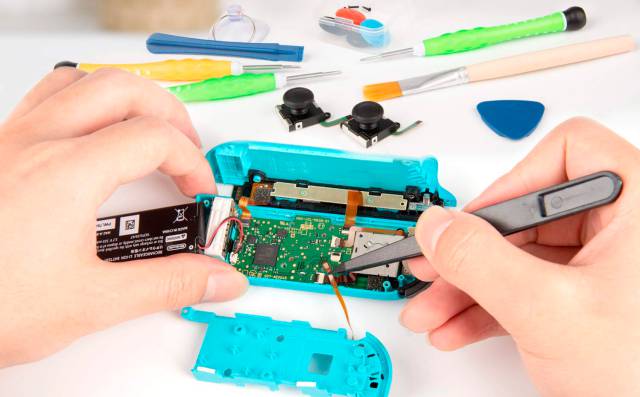
The third and final step before sending the damaged Joy-Con to repair will be to try to replace the stick on our own. It is a risky option and that we must do only if we are really qualified for it; yes, repair kits are sold with everything necessary to carry out the process, although we must have a little hand to do it correctly.
To do this we must open the damaged Joy-Con with a small screwdriver and disassemble its interior through several steps, such as removing the battery, discovering the internal plate by removing a second plastic protector, disconnecting the stick from the plate and finally replace it with the new one; We must be very careful not to damage any internal components. If the problem is not solved, it will be time to send the Joy-Con to Nintendo's technical service.