
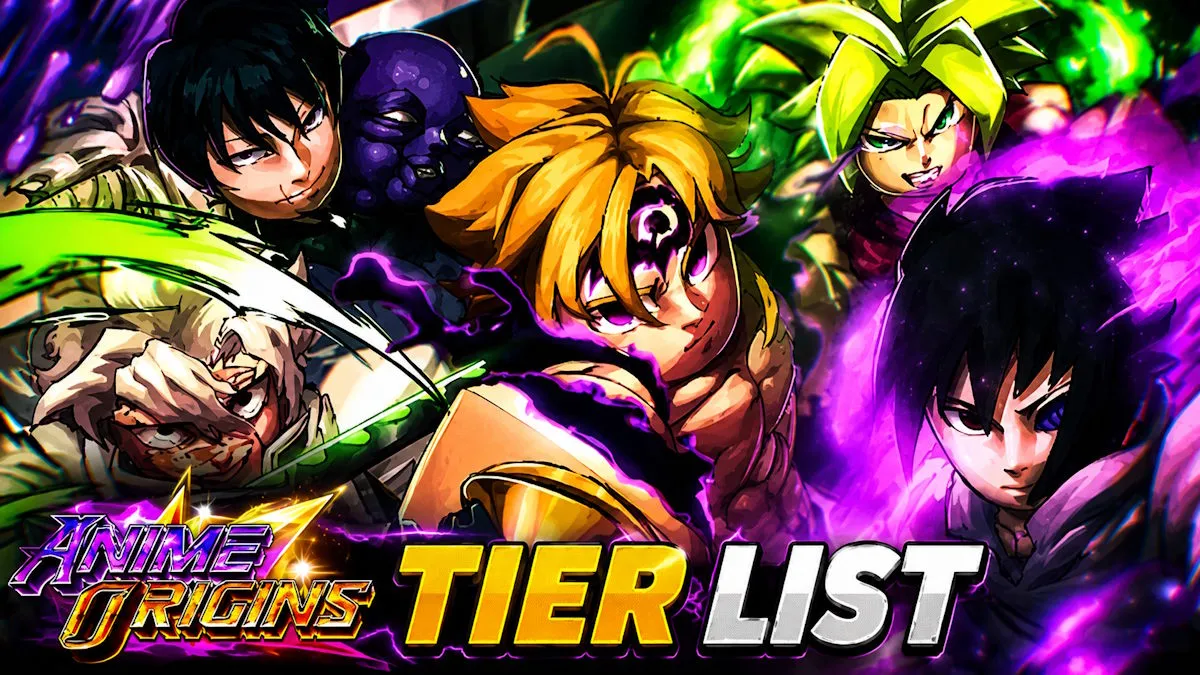
Anime Origins tier list delivers a definitive ranking of every unit, ranging from SS‑tier heavy hitters to only D‑tier filler spots, so players can immediately identify which summons justify gem investments.
How the Tier System Is Structured
The list groups units by power level and utility. SS units combine unrivaled damage, exceptional abilities and almost universal versatility. S+ units deliver high damage or potent support, while S units specialise in niche roles that can dominate certain stages. A, B, C, and D tiers gradually trim power, support, or rarity, offering mid‑tier options for builders on a budget.
SS Tier – Bulwark of Every Build
- Madaro (Edo Tensei): A zone‑control DPS boasting a 500 % Damage Heaven Splitter blast and extra strikes beyond his range. His stun and crowd‑control immunity make him indispensable against tough waves.
- Cursed Lover (Pure Love): Stores up to four active abilities, creating massive flexibility. A single Love Beam attack hands him 300 % damage, making him a dual‑corner‑stone damage and utility choice.
- Valcrad (Unleashed): Grants crit chance, range scaling, and bleeding bonuses. The Coffin Trap keeps bosses stunned for seven seconds, creating a safety net while racking up damage.
S+ Tier – The Backbone of Competitive Lineups
- Bon (Purgatory): Distributes Damage, Cooldown, and Range buffs while unlocking extra money from kills, scoring high in both combat and farming.
- Starku (Primordial): Delivers mythic‑class shots with a unique nuke, enabling strong burst damage against any enemy.
- Igritto (Commander Starku): Offers consistent Oppressing buffs and additive damage gains, ensuring steady output.
- Goju (Honored One): Nullifies attacks, slows foes, and activates Time Stop. His crowd‑control primacy makes him the best support of this tier.
- Tango (Star of Festivals): Solidly performs in ground coverage; reliable top‑tier ground slot but slightly behind other S+ ground specialists.
S Tier – Tactical Specialists for Flawless Execution
- Noroto (Linked): Transforms into Nine Tails’ Cloak, boosting Damage, Cooldown, and Range for three attacks plus a third AoE burst.
- Tojei (Sorcerer Killer): Brings formidable boss damage and neutral typing, but cannot receive buffs, keeping him from cracking higher tiers.
- Vegita (Super): Excels on hills, delivering potent multi‑placement damage enhanced by Goku’s synergy.
- Aneko (Queen): Outputs AoE damage that scales with enemy health, an ideal antagonist for group wipes.
- Shinaru (Butterfly Dance): Focused support, slightly less impactful than advanced supporters, yet still valuable.
- Yoto (Calamity): Provides consistent damage throughout stages, relying on steady performance rather than peak spikes.
A Tier – Dependable, High‑Impact Units
- Itsugo (Dangai): Deals higher output on longer paths, rewarding maps with extended enemy travel.
- Zeldo (Piety): Builds damage and synergises with Meliodas, but lacks breadth of other DPS options.
- Konpatchi (Unleashed): Grows stronger in weakened states, delivering lethal burst builds.
- Gyutari (Upper Moon): Supplies AoE, poison, and blood cuts; performs best against massed crowds.
- Goki (Super 3): Boss‑killer with Fighting Spirit stacks that increase damage and crit over time.
- Bluma (Data Analyst): Grounds money growth via Training Data, turning her into a strong farming asset for infinite mode.
B Tier – Useful but Limited
- Melio (Assault): Cycles through petrify, burn, slow and buff damage, making him unpredictable.
- Oxi (Mage): Functional backup support; lacks the high impact of top‑tier supporters.
- Mykie (Toman): Delivers a 10 % damage boost as leader when positioned correctly, but requires time to manifest.
- Itsoda: Versatile hill unit providing ground coverage for airborne threats; a go‑to early replacement.
- Leorio: Novel economic support by refunding part of an upgrade cost; not meant for frontline DPS.
C Tier – Temporary Holdovers During Roster Build‑Up
- SoSuke (Eternal): A basic ground unit that will likely fall out once stronger options arrive.
D Tier – All Other Rarities
Units not listed above, generally of lower rarity, automatically fall into D. Gem depletion is discouraged unless no higher‑tier pulls appear.
Frequently Asked Questions from the Community
Best Legendary unit: Itsoda owes his ranking to reliable hill placement and anti‑air defense, making him the top legendary pick.
Champion for Infinite Mode: Bluma (Data Analyst) shines thanks to the 30 % income boost from Training Data that compounds each wave.
Optimal boss‑fender: Goki (Super 3) combines high base damage with Fighting Spirit, enabling him to accumulate damage and crit buffs over time for maximum boss killing.
Armed with this exhaustive tier breakdown, players who are ready to loot or re‑balance can place gems where they meet the highest synergy, ensuring every wave is a calculated step toward victory.
 "
"