
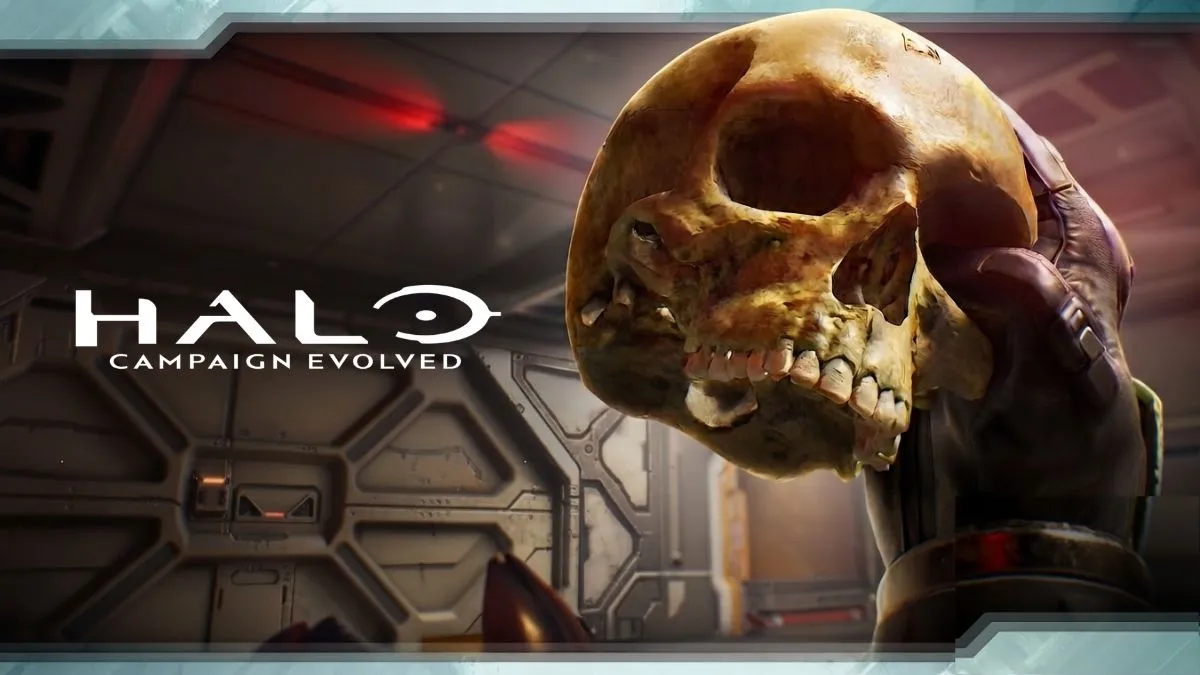
Halo Campaign Evolved reveals 39 skull collectibles that grant permanent modifications to player stats and enemy behaviour, turning every playthrough into a fresh strategic challenge.
Quick Overview of the Skull System
Skulls appear across the 13 playable missions, with each level hiding exactly three items. When activated, each skull offers a discrete gameplay tweak—ranging from movement restrictions to weapon behaviour changes. Collecting all 39 unlocks a series of trophies that mark a player’s completion status.
A Mission‑by‑Mission Breakdown
June 28, 2026 – Mission: Pillar of Autumn
- Speed Limit Skull – Disables sprinting. Location: On the catwalk above the back‑left corner cylinders.
- Magnified Skull – Forces 60‑round AR magazines. Location: On top of a set of lockers in the weapon locker room.
- Perspective Skull – Adds a third‑person camera option. Location: Beneath the two pilots in the ship’s bridge.
Mission: The Silent Cartographer
- Bandana Skull – Grants infinite ammo and grenades. Location: Inside a hidden cave adjacent to the Warthog entrance.
- Acrophobia Skull – Enables jump‑flight. Location: At the top of a Covenant structure after defeating Hunters.
- Hip Fire Skull – Removes all weapon zooms. Location: On a small ledge inside the winding ramp near the control room.
Mission: The Truth and Reconciliation
- Iron Skull – Restarts at the last checkpoint on death in co‑op; resets level solo. Location: Hidden behind a floodlight ledge on the plateau.
- Endurance Spec Skull – Makes UNSC vehicles indestructible. Location: Nestled within a purple pillar in the hangar.
- Foreign Skull – Disables weapons of opposing factions. Location: In a purple glowing structure inside the ship hangar.
Mission: Assault on the Control Room
- IWHBYD Skull – Increases random dialogue from allies and enemies. Location: Inside a hollow in the snowbank accessed with the Scorpion tank.
- Angry Skull – Heightens enemy aggression. Location: On a metallic arch in the valley portion.
- Cowbell Skull – Lightens all objects. Location: Above a set of rocks near the bridge, inside a parapet.
Mission: The Maw
- Stowed Reload Skull – Allows weapons to reload while stowed. Location: On a beam in the cryo‑storage pit.
- Boom Skull – Doubles explosive radius. Location: Hidden under debris on the second level of the reactor room.
- Thunderstorm Skull – Promotes upgraded enemy ranks. Location: Found in a side tunnel during the final Warthog escape.
Mission: Keyes
- Catch Skull – Only appears on Heroic/Legendary difficulty; enables active camo and grabs an overshield before the gravity lift. Location: Near the gravity lift entrance.
- Blind Skull – Removes HUD, weapons, and displays. Location: In the corner beside a locked door after passing a destroyed Wraith.
- Piñata Skull – Causes enemies to drop inert grenades when punched. Location: Dropped by Captain Keyes’ corpse after repeated melee hits.
- Mythic Skull – Increases enemy health. Location: On the pedestal at the end of the Flood‑infested corridor.
Mission: Two Betrayals
- Tough Luck Skull – Makes all enemies extremely aggressive. Location: On a spire behind a blue energy beam.
- Black Eye Skull – Syncs shield recharge only to melee attacks. Location: Between Flood biomass inside a metal arch crossing.
- Mythic Skull – Raises enemy health. Location: On a central pedestal after navigating the Flood‑infested finale.
Mission: 343 Guilty Spark
- Fog Skull – Disables motion tracker tracking. Location: Resting on a mound of dirt near a stretched log.
- That’s Just… Wrong Skull – Increases enemy awareness. Location: Dropped from an injured marine in the underground facility.
- They Come Back Skull – Intensifies Flood Combat Form aggression. Location: Gathered on the base of a large tree in the forest.
- Tilt Skull – Amplifies positive and negative damage multipliers. Location: Up a short slope at the top of the steps.
- Pop Skull – Flood enemies explode when hit in a weak point. Location: Near a metal slope after the first elevator.
- Famine Skull – Halves ammo drops from enemies. Location: On the floor of a tunnel immediately after the final elevator.
Mission: The Library
- Tilt Skull – Amplifies damage multipliers. Location: On a short slope below the first elevator.
- Pop Skull – Flood enemies explode when struck in a weak point. Location: On a narrow ledge under a metal slope.
- Famine Skull – Halves dropped ammo. Location: In a tunnel under the final elevator.
Mission: Boarding Action
- Malfunction Skull – Random HUD element disappears permanently on each respawn. Location: On a walkway inside the unlocked bay doors.
- Johnny Ammo Seed Skull – Erases remaining clip ammo when reloading. Location: Resting inside the sand‑filled elite training room.
- Leadhead Skull – Removes headshot damage bonuses and instant‑kill capability. Location: On an elevated ledge overlooking the arena.
Mission: The Most Dangerous Game
- Temperamental Skull – Causes allies to target players more quickly after killing friendly NPCs. Location: Inside the central spire after destroying three golden elites.
- Recession Skull – Warms up ammo consumption rate. Location: Under a locked door after detonating braziers on a long bridge.
- Ghost Skull – Enemies no longer stagger when shot. Location: Above a fire brazier accessed by a short cave tunnel.
Mission: Heavy Burden
- Eye Patch Skull – Disables auto‑aim on all weapons. Location: On a narrow ledge near a locked door across a suspended walkway.
- Grunt Birthday Party Skull – Adds celebratory pop‑ups on Grunt headshots. Location: On a stone spire after leaping through a purple fire pit.
- Efficient Skull – Generates extra ammo upon full‑health kills. Location: Buried in the final operation deck’s right corner.
Mission: The Pillar of Autumn (continued)
- Speed Limit Skull – Terminates the sprint mechanic. Location: At the end of a catwalk assembled from cargo cylinders.
- Magnified Skull – Standardises ARs to 60‑round magazines. Location: Solely on top of a locker stack.
- Perspective Skull – Adds third‑person view. Location: Within the bridge below the pilot seats.
Strategic Tips for Skull Hunting
Scavenging skulls demands a bias toward detours from the main path: elevators, side tunnels and hidden ledges often conceal them. Shoot environmental hazards that open new routes, such as braziers or explosive canisters, to reveal otherwise inaccessible platforms. Many skulls are rewarded for defeating specific enemy types—golden elites spawn in the most dangerous game, while elite snipers trail a hunter pair in the silent cartographer.
To verify a skull’s activation, the HUD will briefly flash its name before a suggestion icon appears on the nearest weapon or ability. Since each skull can only be collected once per campaign, plan the desired mix of modifiers and prioritise skulls that complement your play style, whether in single‑player or co‑op.
Collecting every skull not only tailors the experience but also accumulates trophies that provide a visual record of progress, ranging from “Skull Hunter” to “Campaign Completion.” For players seeking maximised challenge, altering armour and ammo consumption with the Ghost and Recession skulls can create a dynamic grind‑like cycle that keeps the campaign fresh.
With 39 skulls spread over 13 missions, Halo Campaign Evolved offers a substantial depth of hidden content that rewards curiosity, precision movement and strategic decision‑making; it is both a map exploration exercise and a mod‑dressing session in equal measure.
 "
"